Welcome to our comprehensive guide on setting up a local WordPress environment! Whether you’re a developer, designer, or blogger, creating a local WordPress site offers a safe space to build, test, and experiment without risking your live website. This setup allows you to work more efficiently and securely, ensuring your projects are polished before going public.
In this guide, we’ll walk you through the process of installing WordPress on your computer using tools like XAMPP and ServerPress. You’ll also learn how to migrate sites and troubleshoot common issues effortlessly. By following our step-by-step instructions, you’ll be able to create a fully-featured local environment tailored to your needs.
Key Takeaways
- Understand the benefits of a local WordPress setup for testing and development.
- Learn the system requirements for a smooth installation process.
- Discover how to install WordPress on your computer using XAMPP and ServerPress.
- Master the process of migrating sites and troubleshooting common errors.
- Follow best practices to ensure a successful launch of your local environment.
Introduction to Local WordPress Setup
Creating a local WordPress environment is a smart way to experiment with design, development, and troubleshooting without affecting your live site. This process offers a controlled space where you can test themes, plugins, and updates safely.
A local setup provides faster development cycles and enhanced privacy. It allows you to work on your projects without internet connectivity, making it ideal for environments with limited access.
To set up a local site, you need a few key components: a document root to store your files, a server to host your site, and a database to manage your content. These elements work together to create a fully functional environment.
| Component | Description | Importance |
|---|---|---|
| Document Root | Stores all WordPress files and themes. | Essential for site structure. |
| Server | Hosts your local site. | Required for site functionality. |
| Database | Manages site content and settings. | Critical for dynamic data. |
Organizing your projects in dedicated folders ensures a streamlined workflow. This structure helps you manage multiple sites efficiently, keeping each project separate and accessible.
Following a clear process for installation and configuration is crucial. This approach minimizes errors and ensures your local environment runs smoothly, allowing you to focus on development and experimentation.
Local vs Online: Choosing the Right Environment
When deciding between a local and online environment, it’s important to consider your specific needs and goals. Each option has its own set of advantages, and understanding these can help you make the right choice for your project.
Advantages of Local Hosting
Local hosting offers several benefits that make it a popular choice for developers and designers. Here are some of the key advantages:
- Speed: Local environments provide faster loading times since everything is stored on your computer.
- Security: Working locally minimizes the risk of cyber attacks and data breaches.
- Cost-Effective: There are no hosting costs, making it a budget-friendly option.
- Offline Functionality: You can work on your project without an internet connection.
When to Transition to a Live Site
While local hosting is ideal for development, there are certain scenarios where moving to a live site is necessary. Consider transitioning when:
- Your website is ready for public viewing.
- You need to test real-time user interactions.
- You require features only available on a live server, such as email functionality.
| Feature | Local Hosting | Online Hosting |
|---|---|---|
| Environment | Offline, on your computer | Online, on a server |
| Performance | Faster loading times | Dependent on server quality |
| Security | Higher security risks | Advanced security measures |
| Cost | Free | Monthly or annual fees |
| Scalability | Limited | Highly scalable |
Understanding the differences and benefits of each environment will help you decide the best approach for your project. Whether you choose local or online hosting, ensure it aligns with your goals and requirements.
The Role of XAMPP in Your Local WordPress Setup
XAMPP is a cornerstone in setting up a robust local WordPress environment. It offers a comprehensive suite of tools that simplify the installation and configuration process, making it an ideal choice for developers and designers alike.
Why We Chose XAMPP
XAMPP stands out as a preferred tool for hosting local WordPress sites due to its all-in-one approach. It seamlessly integrates Apache, MariaDB, PHP, and Perl, providing everything needed to run a WordPress website locally. This integrated solution ensures a smooth setup process and optimal performance.
Starting XAMPP as an Administrator
Running XAMPP with administrative privileges is crucial to avoid permission issues. Here’s how to do it effectively:
- Right-click the XAMPP Control Panel and select “Run as administrator.”
- Ensure all required modules (Apache, MySQL) are started.
- Configure settings to optimize performance for your local WordPress setup.
| Feature | XAMPP | Other Tools |
|---|---|---|
| Integrated Environment | Includes Apache, MariaDB, PHP, and Perl | May require separate installations |
| Ease of Use | User-friendly control panel | Can be complex for beginners |
| Performance | Optimized for local development | Varying performance levels |
Installing and Configuring Local Servers
Setting up a local server is a crucial step in creating a robust development environment. Whether you choose ServerPress or XAMPP, proper installation and configuration ensure a smooth workflow.
Free ServerPress: Installation and Uninstallation
Installing ServerPress is straightforward. Download the software, follow the installation wizard, and launch the application. For uninstallation, simply remove the program through your system’s control panel and delete any remaining files.
Step-by-Step XAMPP Setup
1. Download and install XAMPP from the official website. 2. Launch the control panel and start Apache and MySQL. 3. Access your local server via the provided URL. 4. Use phpMyAdmin to create a database for your website.
| Feature | ServerPress | XAMPP |
|---|---|---|
| Installation | Simple wizard-based | Manual configuration needed |
| Environment | User-friendly interface | Command-line oriented |
| Flexibility | Limited customization | Highly customizable |
Both tools offer reliable solutions, with ServerPress being more user-friendly and XAMPP providing advanced flexibility. Choose based on your development needs for an optimal experience.
WordPress Installation Methods for Local Environments
Setting up a local WordPress site can be achieved through two primary methods: using Bitnami or manual installation. Each approach offers distinct advantages, catering to different user needs and skill levels.
Install WordPress with Bitnami
Bitnami simplifies the installation process by bundling all necessary components into a single package. This method is ideal for beginners, as it streamlines the setup and ensures all dependencies are correctly configured. With Bitnami, you can get started quickly, focusing on development rather than troubleshooting. The process typically involves:
- Downloading the Bitnami WordPress stack.
- Following the installation wizard.
- Configuring basic settings like database credentials and site details.
Remember to establish a strong password during setup to enhance security.
Install WordPress without Bitnami
For greater control, many users prefer a manual installation. This method requires downloading WordPress from the official site and setting up the database manually. While it offers more customization, it also demands a better understanding of server configurations. Key steps include:
- Creating a database using phpMyAdmin.
- Configuring WordPress files in your local server directory.
- Editing the wp-config.php file to match your database settings.
Manual installation allows for tailored configurations but requires careful attention to detail to avoid errors.
Both methods are reliable, with Bitnami offering speed and simplicity, while manual installation provides flexibility. Choose the approach that best fits your expertise and project requirements to ensure a smooth experience.
Backup and Migration Strategies
Protecting your work and ensuring a smooth transition between environments is crucial for any successful project. Whether you’re moving from a live site to a local setup or vice versa, having a solid backup and migration strategy in place ensures data integrity and minimizes downtime.
Quick & Simple Backup Techniques
Regular backups are essential to prevent data loss. Here are some quick and effective methods:
- Manual Backups: Use tools like phpMyAdmin to export your database and compress your website files.
- Plugin-Based Backups: Utilize trusted plugins like UpdraftPlus or Duplicator for automated backups.
- Version Control: Implement Git for tracking changes and maintaining a development history.
Moving Live WordPress Sites to Local Environments
Migrating a live site to a local environment allows for safe testing and troubleshooting. Here’s how to do it effectively:
- Export your live site’s database using phpMyAdmin.
- Download all website files via FTP or SFTP.
- Configure your local server to host the site, ensuring all file paths and database connections are updated.
Transitioning Local Sites Back to Live
After making changes locally, moving your site back to a live host is straightforward:
- Database Sync: Import your local database to the live server, ensuring no data loss.
- File Upload: Transfer all updated files using FTP/SFTP or your hosting panel.
- Configuration: Update DNS settings and test functionality to ensure a smooth transition.
| Method | Advantages | Best For |
|---|---|---|
| Manual Backup | Full control, no dependencies | Developers familiar with databases |
| Plugin-Based | Automation, ease of use | Users seeking simplicity |
| Version Control | Change tracking, collaboration | Team-based development |
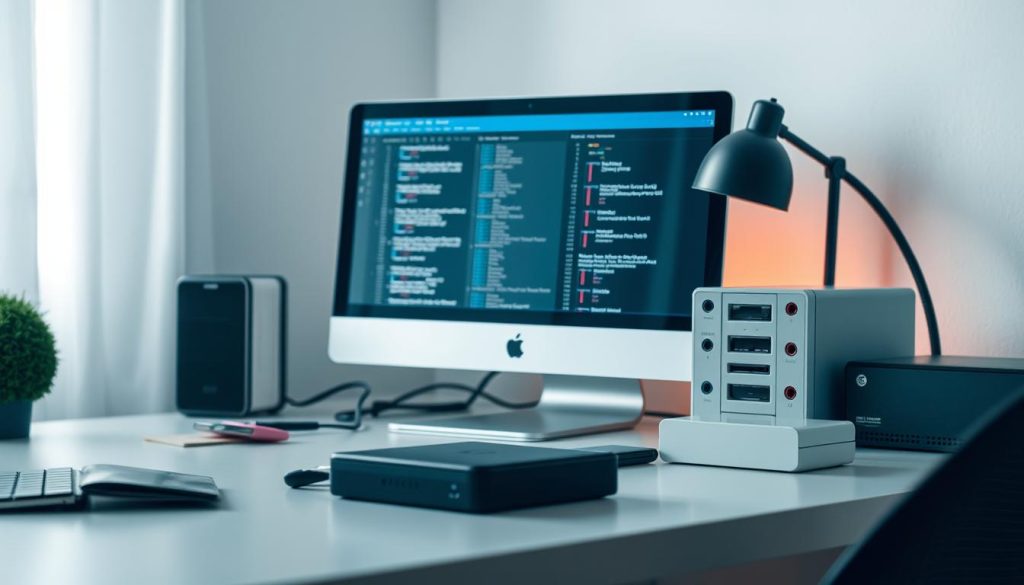
By implementing these strategies, you can safeguard your work and ensure seamless transitions between environments. Whether you’re developing locally or managing a live site, having reliable backup and migration processes is key to maintaining productivity and data security.
Troubleshooting Common Setup Issues
Encountering issues during your local environment setup? You’re not alone. Let’s explore common problems and their solutions to get you back on track.
Issues with Logging In After Moving Locally
After migrating your site, login issues can arise due to incorrect credentials or database mismatches. Verify your username and password and ensure they match both your local and live environments. If issues persist, reset your password directly in the database using phpMyAdmin.
Increasing Max File Upload Sizes
Large file uploads failing? Modify your php.ini file to increase limits. Update the upload_max_filesize and post_max_size values, then restart your server to apply changes.
Resolving General Installation Errors
Installation errors often stem from incorrect configurations or missing dependencies. Check your system logs for specific error messages and ensure your environment meets all system requirements. Reinstalling the installer with correct settings usually resolves these issues.
| Problem | Cause | Solution |
|---|---|---|
| Login Issues | Incorrect credentials | Reset password via phpMyAdmin |
| Upload Limits | Small file size caps | Adjust php.ini settings |
| Installation Errors | System requirements | Verify and meet requirements |
Fixing Port Conflicts and Server-Level Problems
When setting up a local server, issues like port conflicts can arise, causing frustration and disrupting your workflow. These problems can stem from various sources, but understanding and addressing them is key to maintaining a smooth development environment.
Understanding Port Conflicts: The Why
Port conflicts occur when multiple applications attempt to use the same communication port, leading to service interruptions. This is common in local setups where servers like Apache and MySQL are running. Recognizing these conflicts early is crucial for resolving them efficiently and preventing downtime.
How to Fix Windows Firewall and Port Issues
To resolve port conflicts, start by identifying which ports are in use. On Windows, you can use the Command Prompt with the command `netstat -an | findstr :80` to check if port 80 is occupied. If Apache is using a different port, edit the `httpd.conf` file to change the listening port. Additionally, configure your Windows Firewall to allow exceptions for these ports to ensure uninterrupted service.
- Open the Command Prompt and type `netstat -an | findstr :80` to check port usage.
- Navigate to the Apache configuration file, typically found in `C:\xampp\apache\conf\httpd.conf.
- Modify the `Listen` directive to an unused port, such as 8080.
- Restart Apache to apply changes.
Addressing XAMPP Control Panel Red X’s
A red X in the XAMPP control panel indicates a service isn’t running. This could be due to port conflicts or insufficient permissions. To fix this, check the service logs for errors, ensure proper administrative privileges, and restart the services. If issues persist, reconfiguring the ports or reinstalling XAMPP may be necessary.
| Problem | Cause | Solution |
|---|---|---|
| Port Conflicts | Multiple applications using the same port | Change Apache’s port in httpd.conf |
| Firewall Blocking | Windows Firewall restricting access | Add exceptions in Windows Firewall |
| Red X Errors | Service not running or misconfigured | Check logs, run as administrator, restart services |

By addressing these issues, you can ensure a stable and efficient server environment on your computer. Regular checks and proper configurations will help prevent future problems, allowing you to focus on your development projects without interruptions.
Advanced Configuration and Customization
Now that you’ve set up your local environment, it’s time to take it to the next level with advanced configurations. These tweaks will enhance performance and streamline your workflow, making your development process more efficient and enjoyable.
Optimizing the XAMPP Console
To get the most out of your setup, consider these optimizations:
- Enable Mod Rewrite: Boost SEO and URL structure by allowing clean permalinks.
- Tune PHP Settings: Adjust memory limits and execution times for better performance.
- SSL Integration: Add a self-signed certificate for secure local testing.
These adjustments ensure your environment mirrors live conditions, helping you catch issues early.
Customizing Your Local Development Environment
Personalize your setup to fit your workflow:
- Virtual Hosts: Create dedicated hosts for each project to keep things organized.
- Custom Plugins/Themes: Test new tools without affecting live sites.
- Version Control: Use Git for tracking changes and collaboration.
Customizing your environment can significantly enhance productivity and code quality.
Conclusion
In conclusion, this guide has provided a comprehensive roadmap for setting up, configuring, and troubleshooting your local WordPress site. By following the steps outlined, you’ve gained the tools to efficiently test, troubleshoot, and migrate your sites with confidence.
Working in a local environment offers unparalleled benefits, allowing you to experiment and refine your projects without risking your live site. The ability to create new, customized sites and troubleshoot issues offline is a powerful advantage for any developer or designer.
Don’t hesitate to explore your dashboard and configuration buttons to unlock new possibilities. Keeping your installation updated with the latest version ensures you have the most secure and performant environment possible.
Thank you for joining us on this journey. With these strategies, you’re now equipped to optimize your development process and create exceptional websites with ease. Happy coding!